Click here to view the communication campaign kit and the sample emails that can be downloaded:
💡 This tab is relevant for both MyDataSecurity and MyDataManagement configuration.
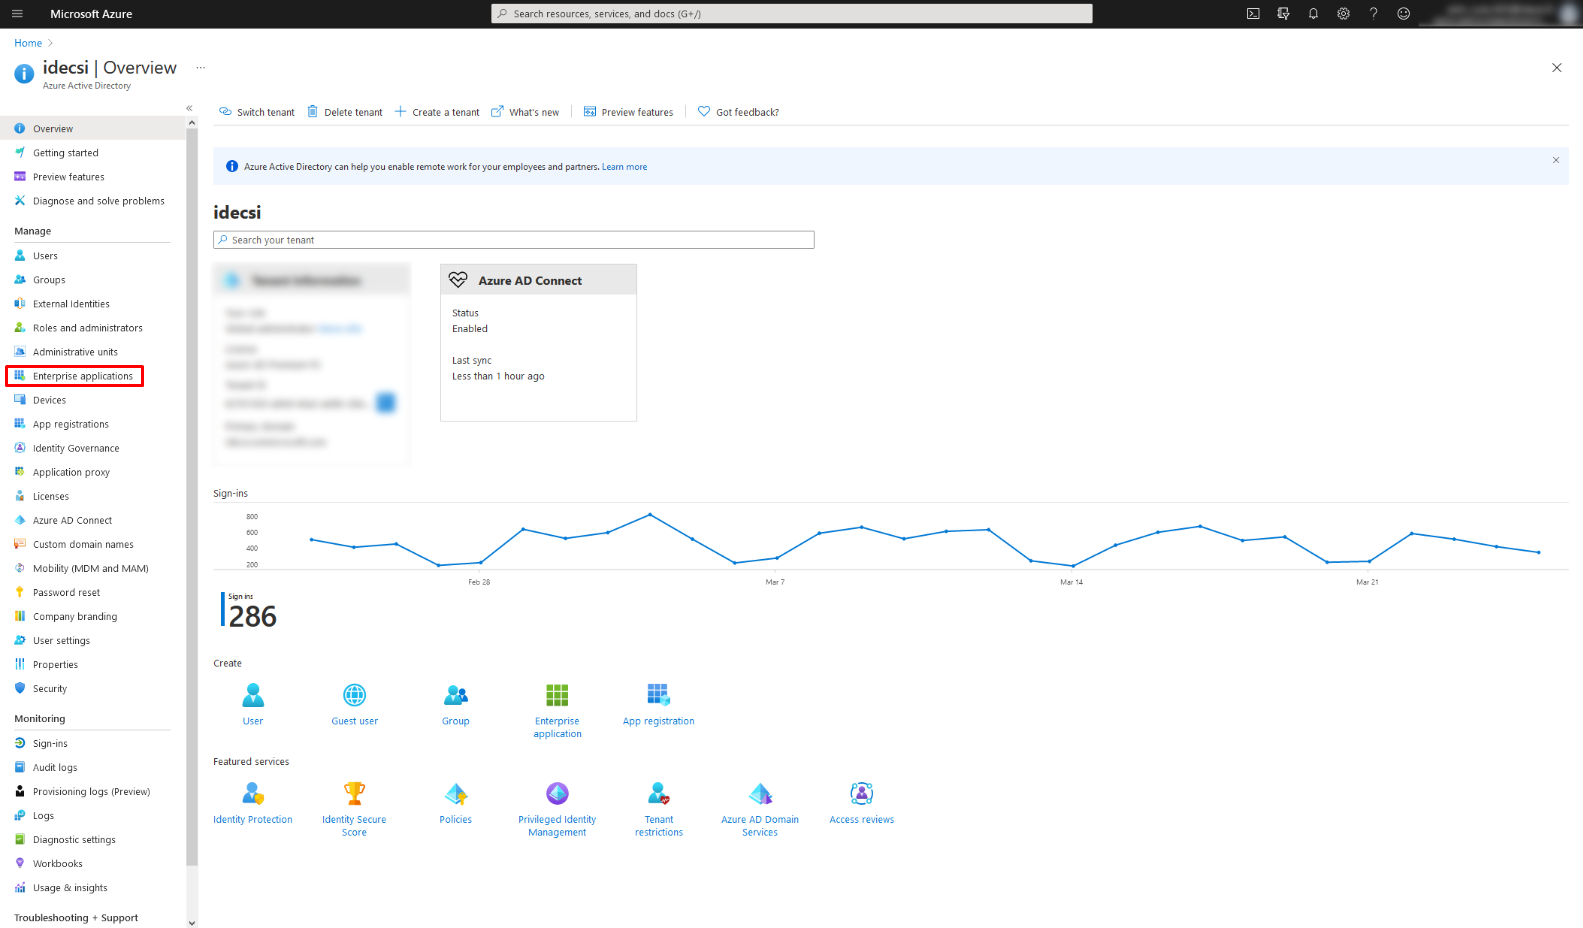
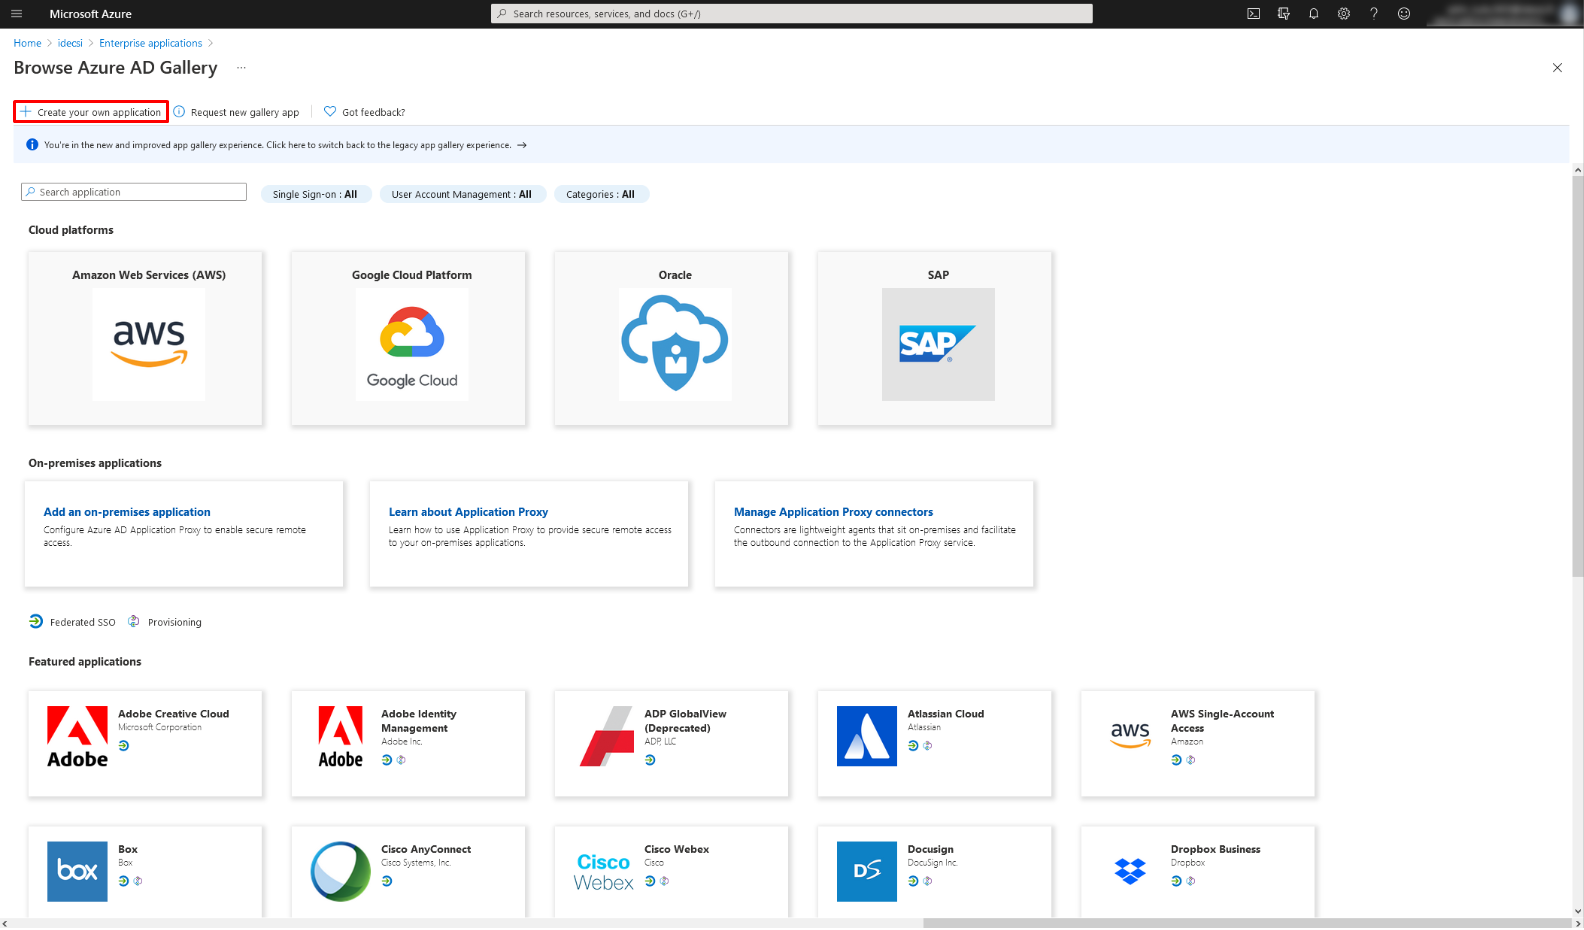
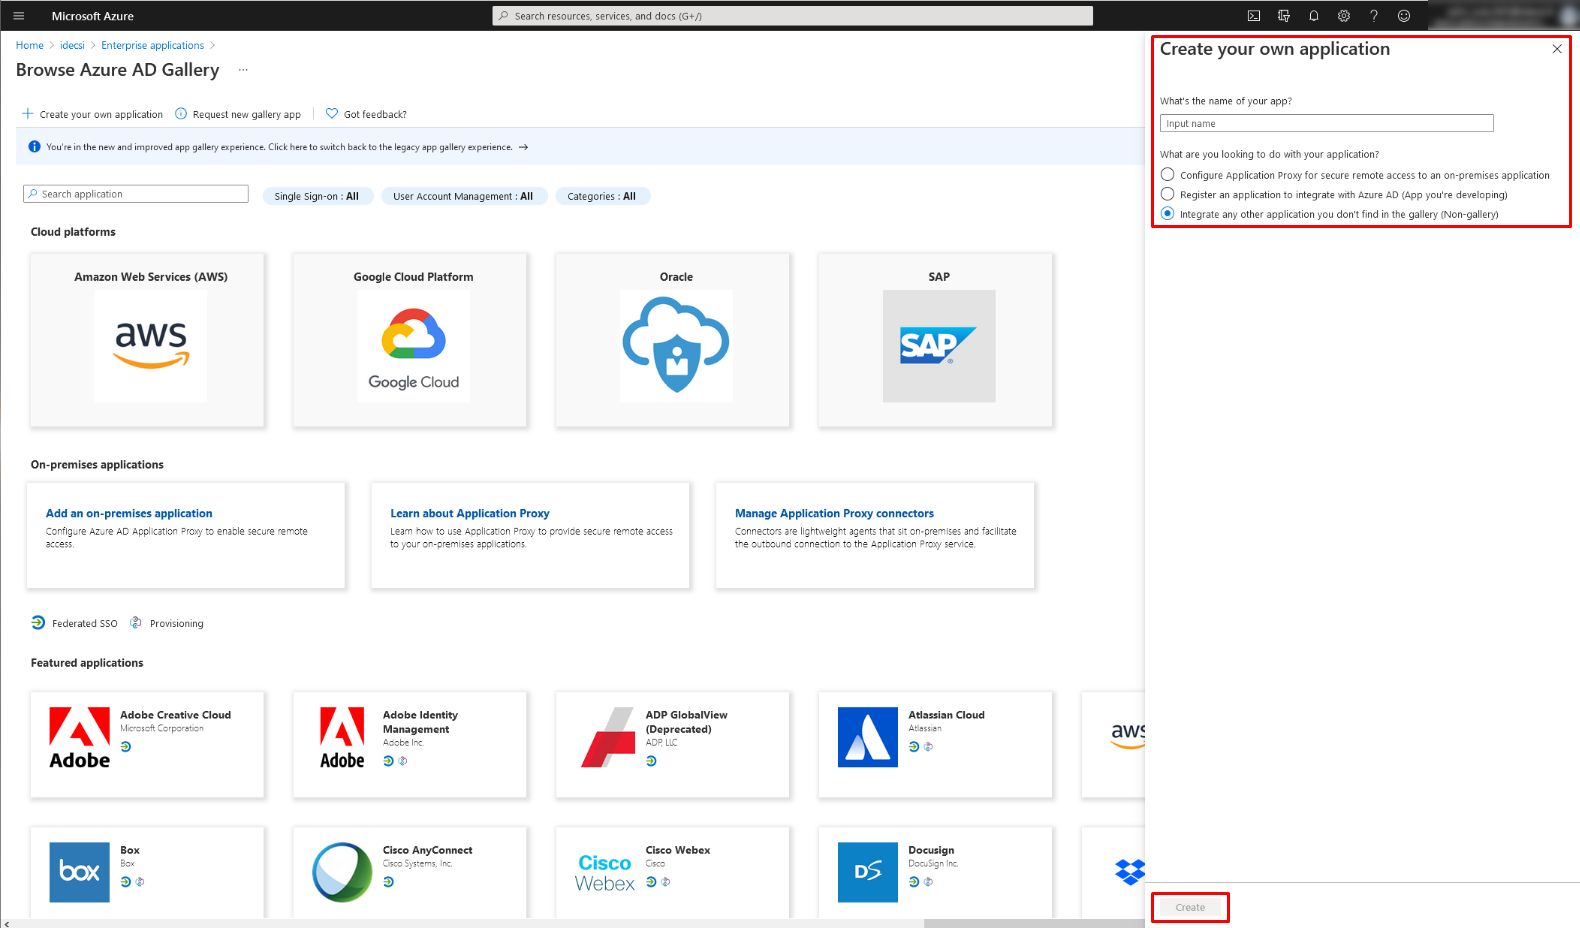
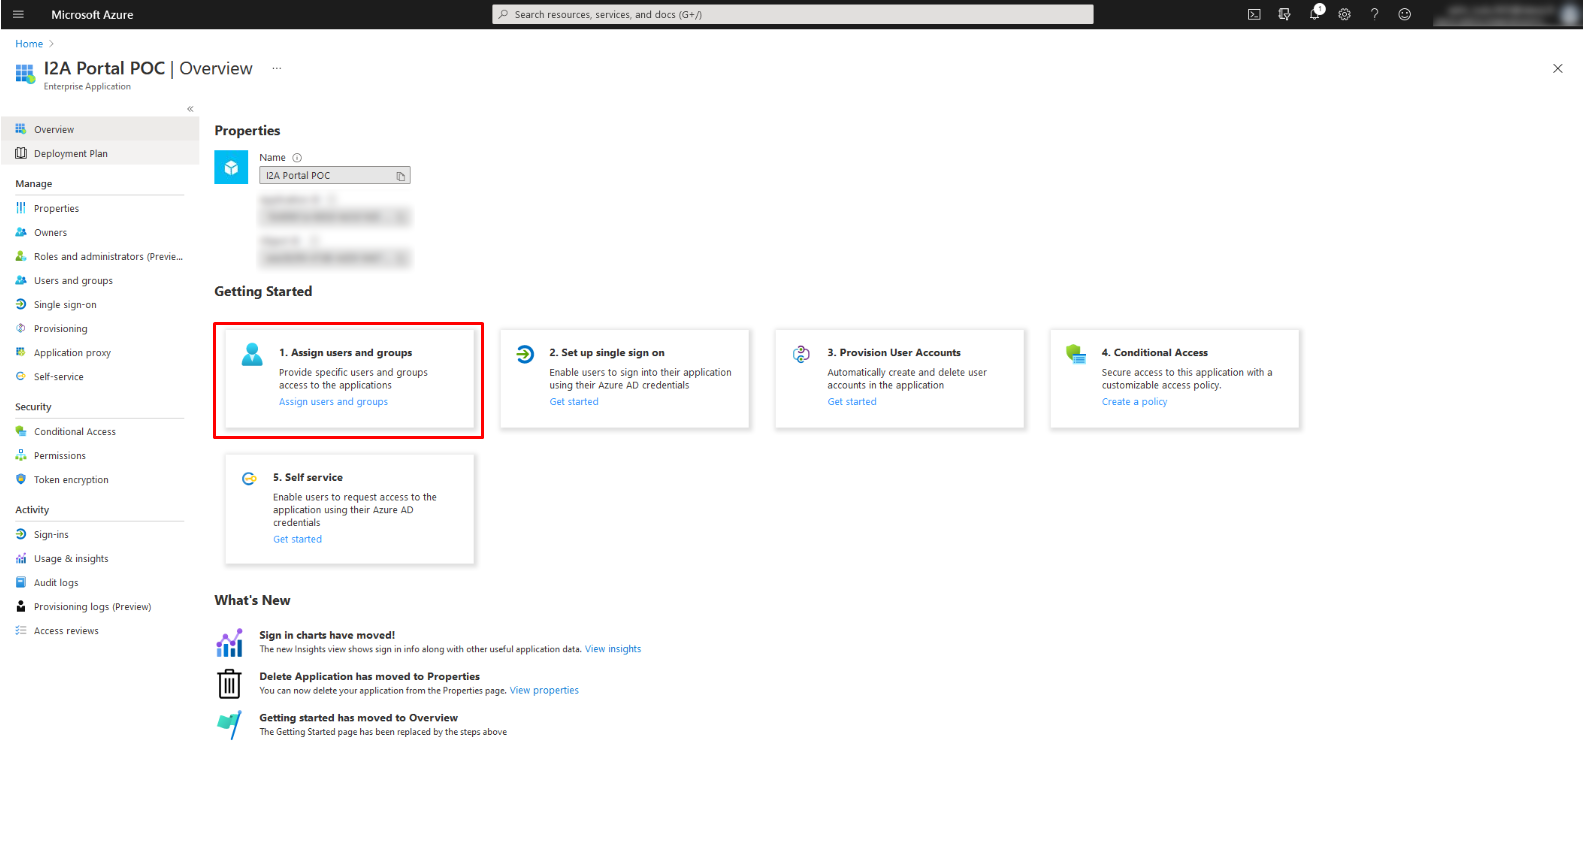
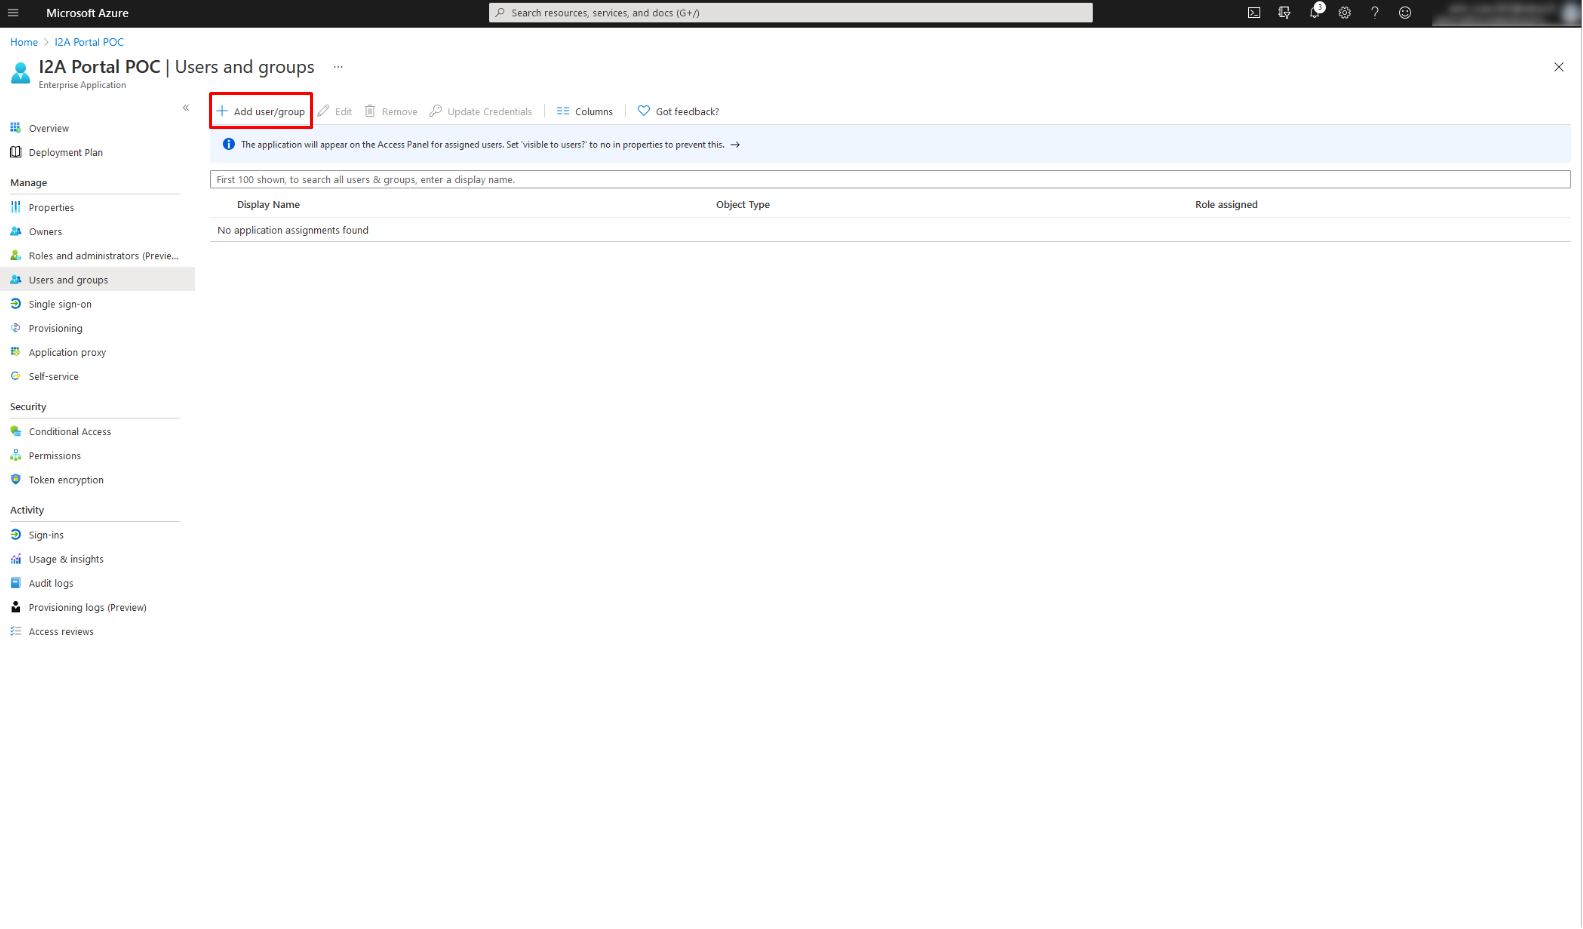
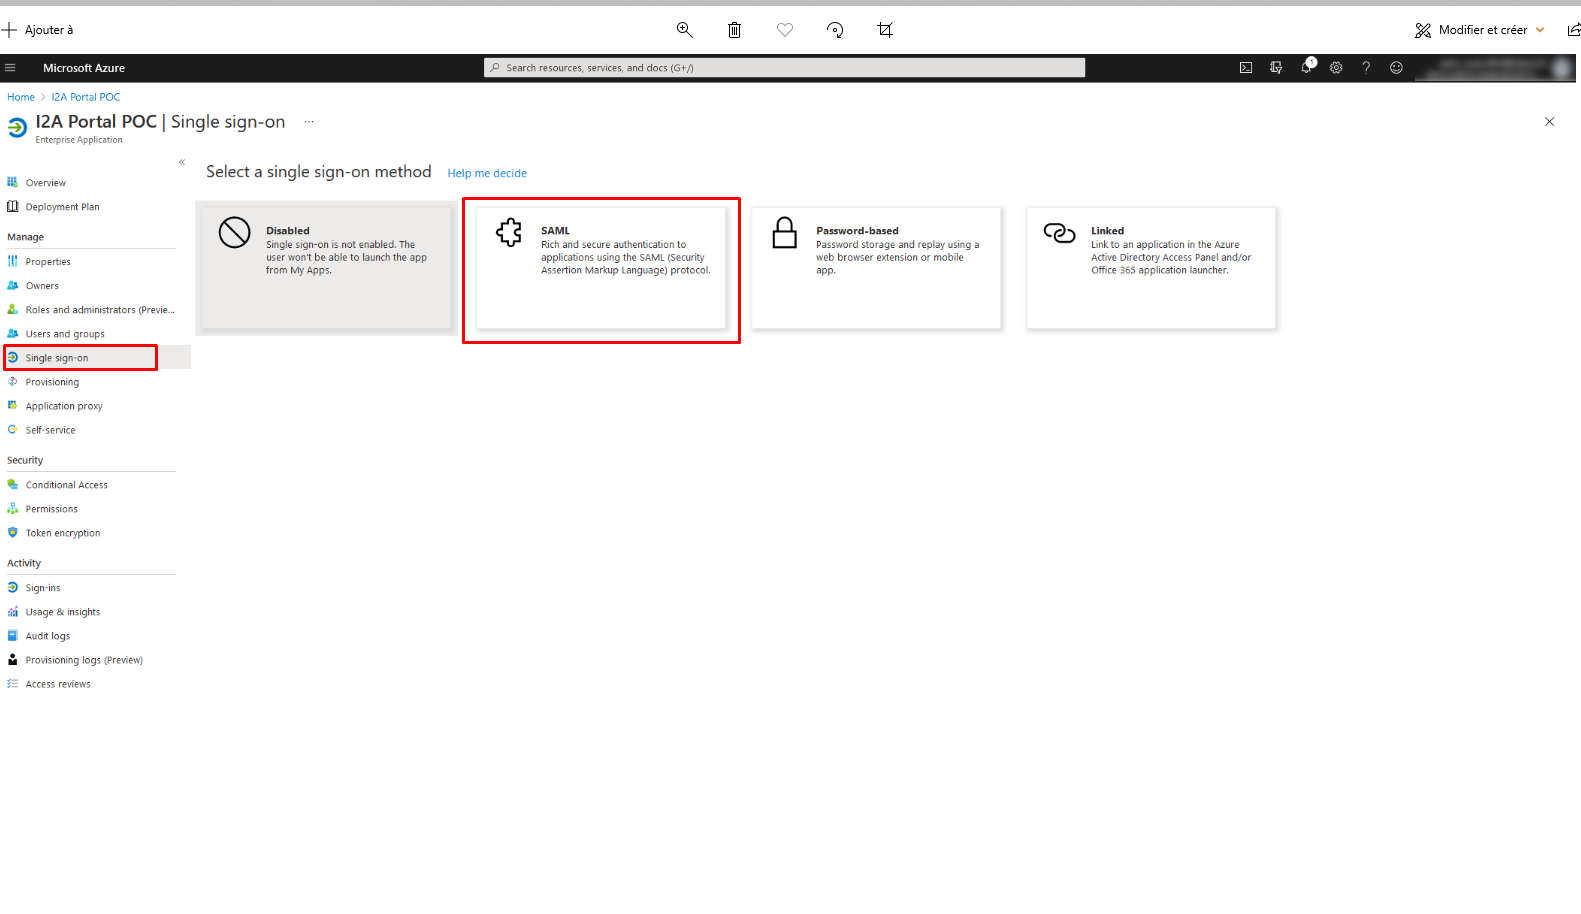
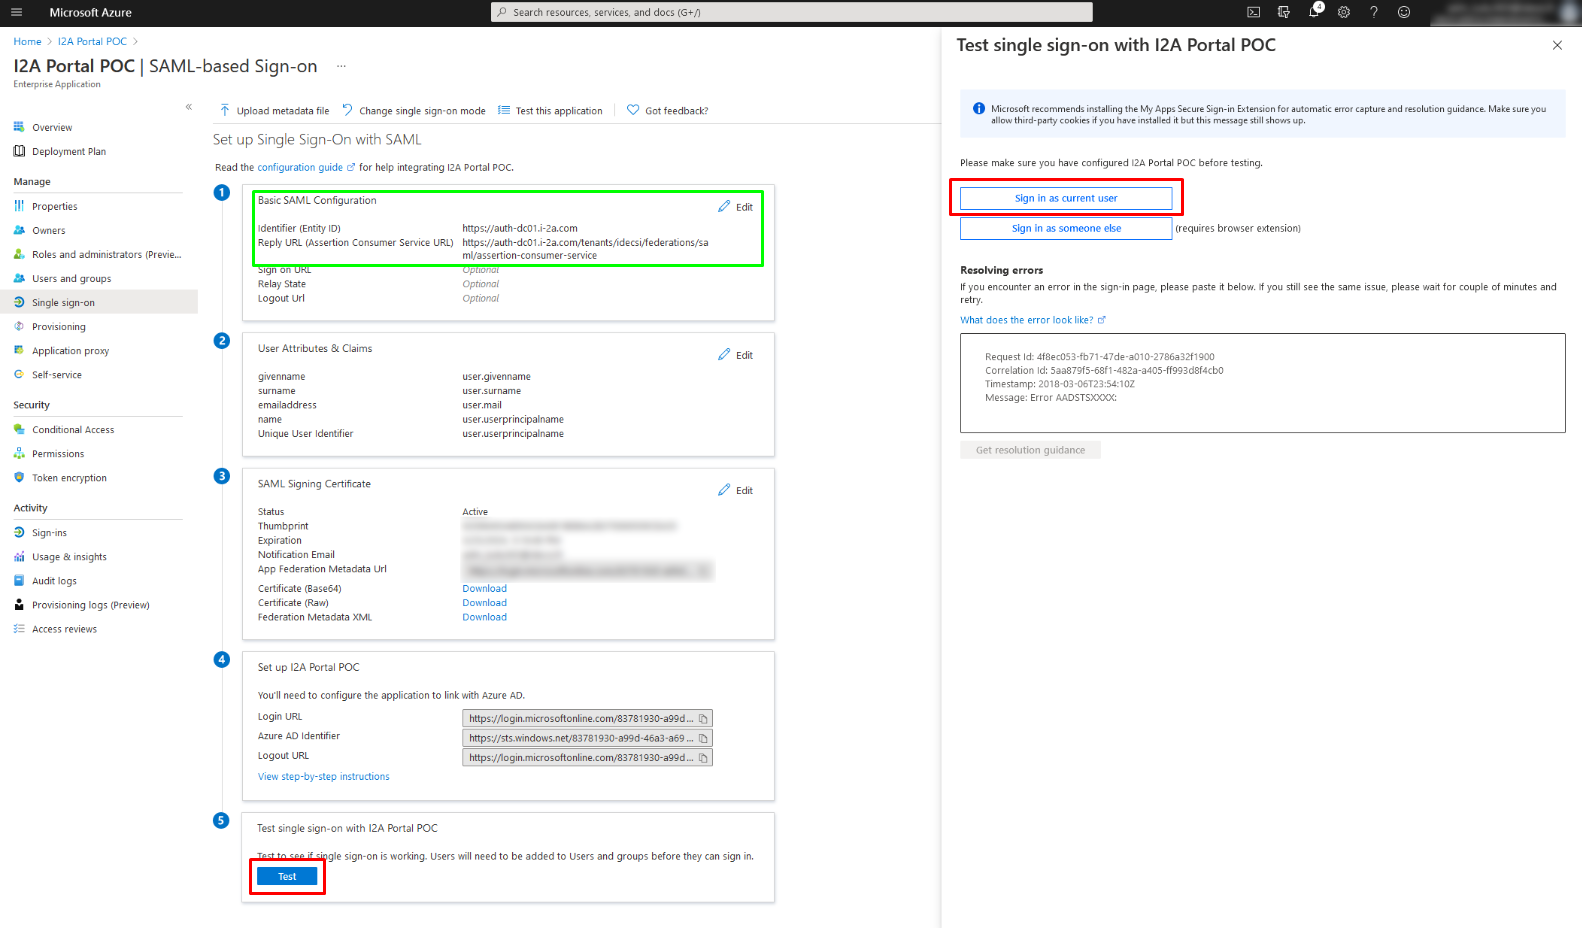
To enable users to connect to their MyDataSecurity or MyDataManagement, we can integrate your identity federation. Below is the procedure with Azure AD. For other solutions, please consult the knowledge base.
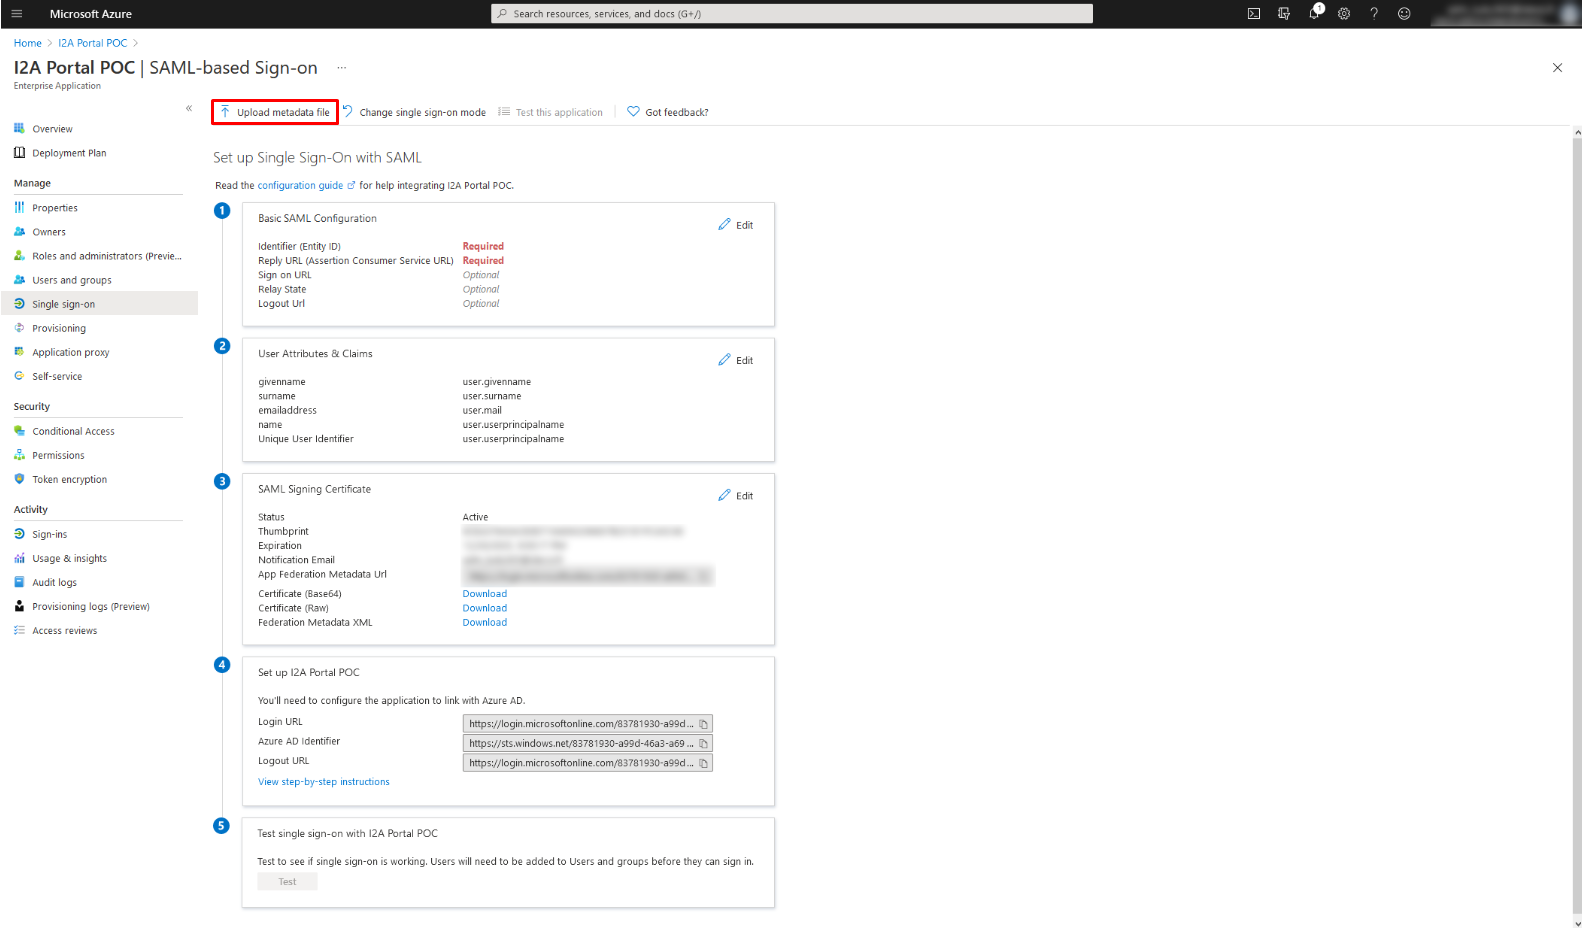
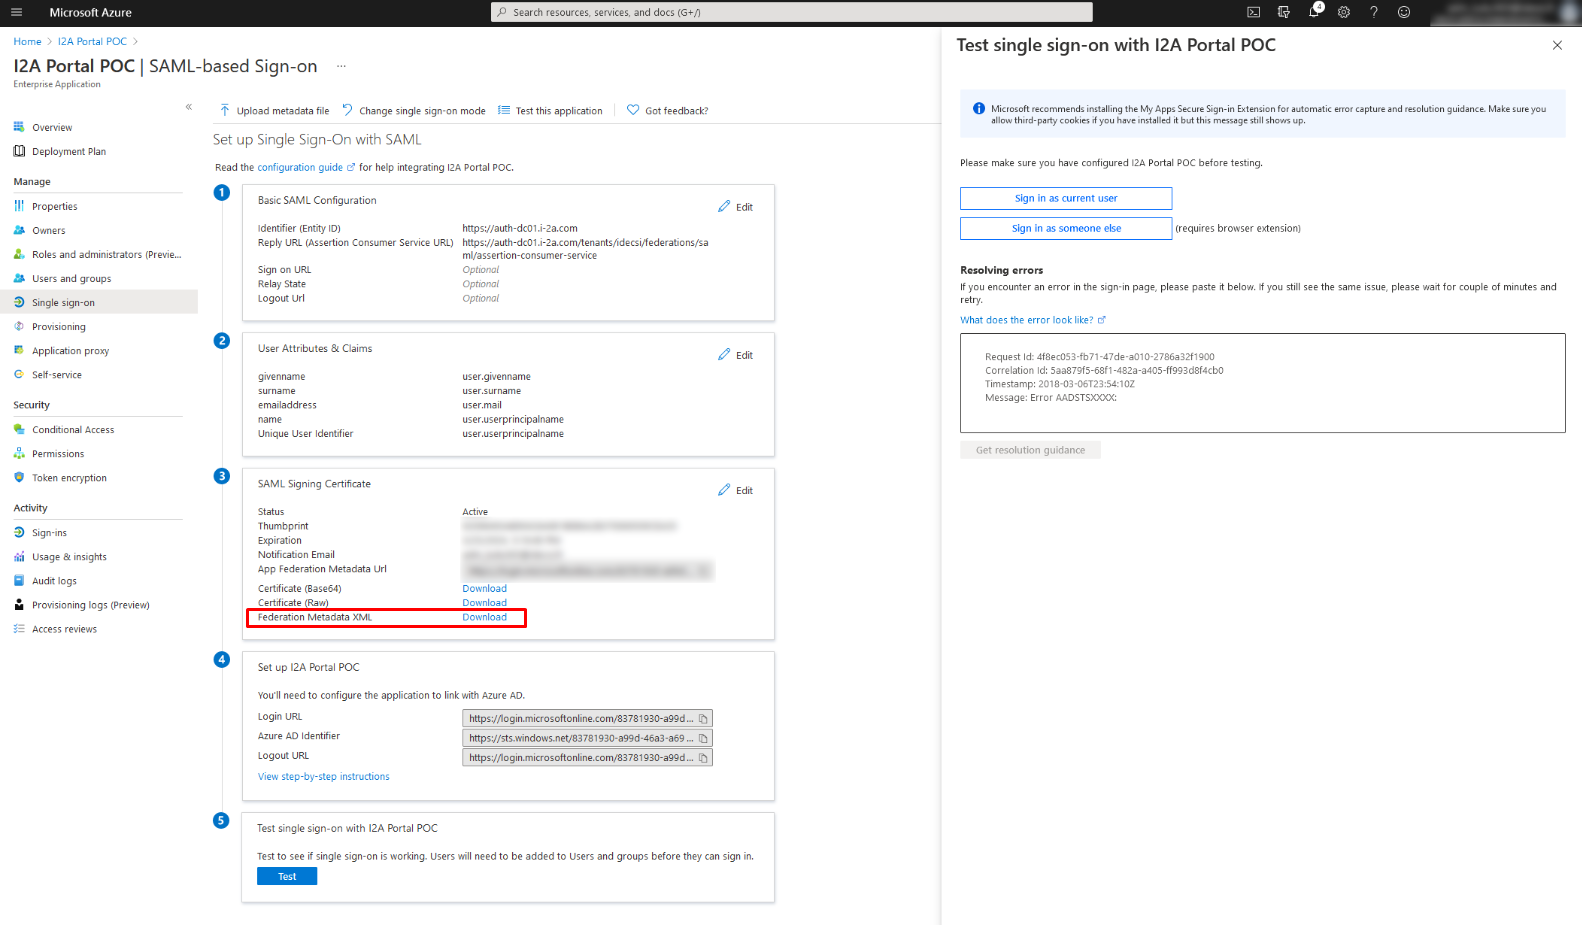
Your Client Success Manager will inform you after your metadata has been integrated.
What is HVE (High Volume Email)?
Step 1: Create your HVE account
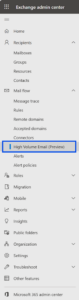
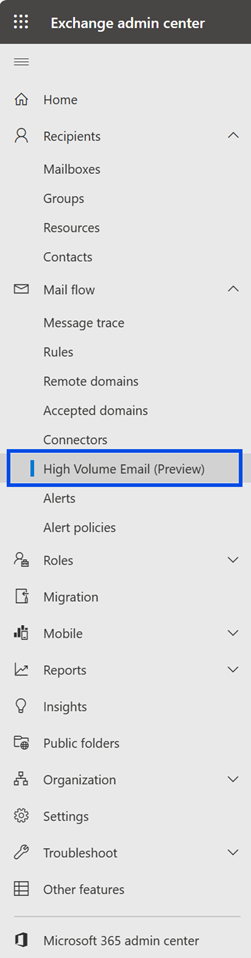
Navigate to https://admin.exchange.microsoft.com/.
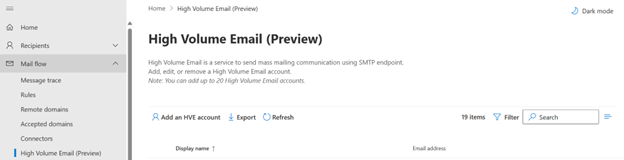
- Under the Mail flow menu, select High Volume Email(Preview).
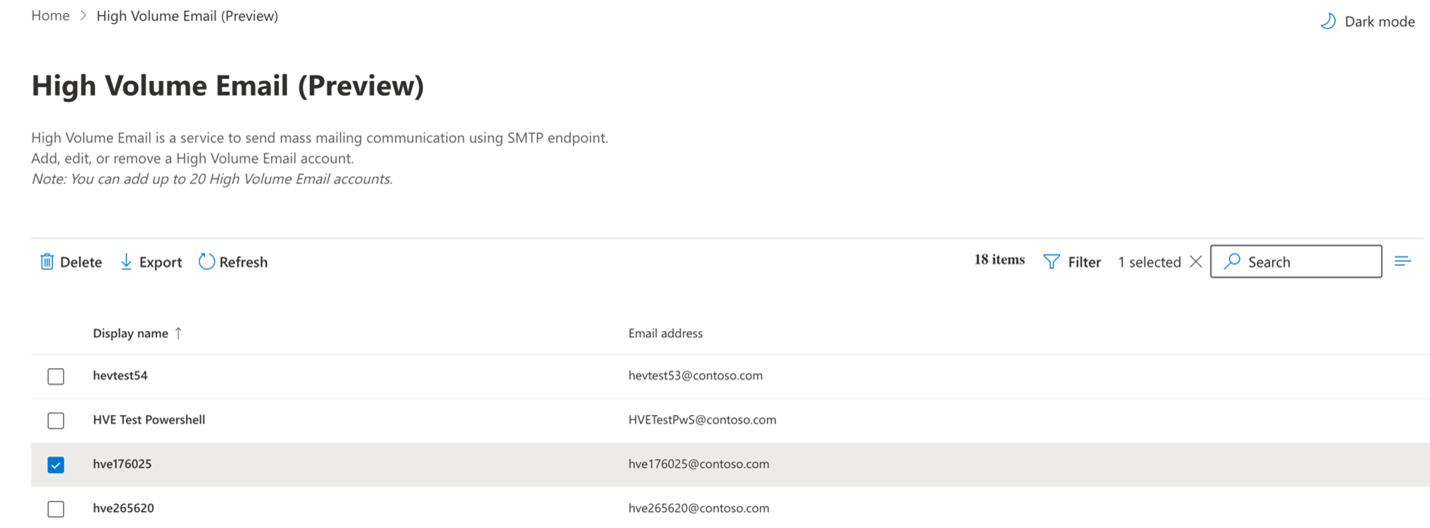
Select Add an HVE account.

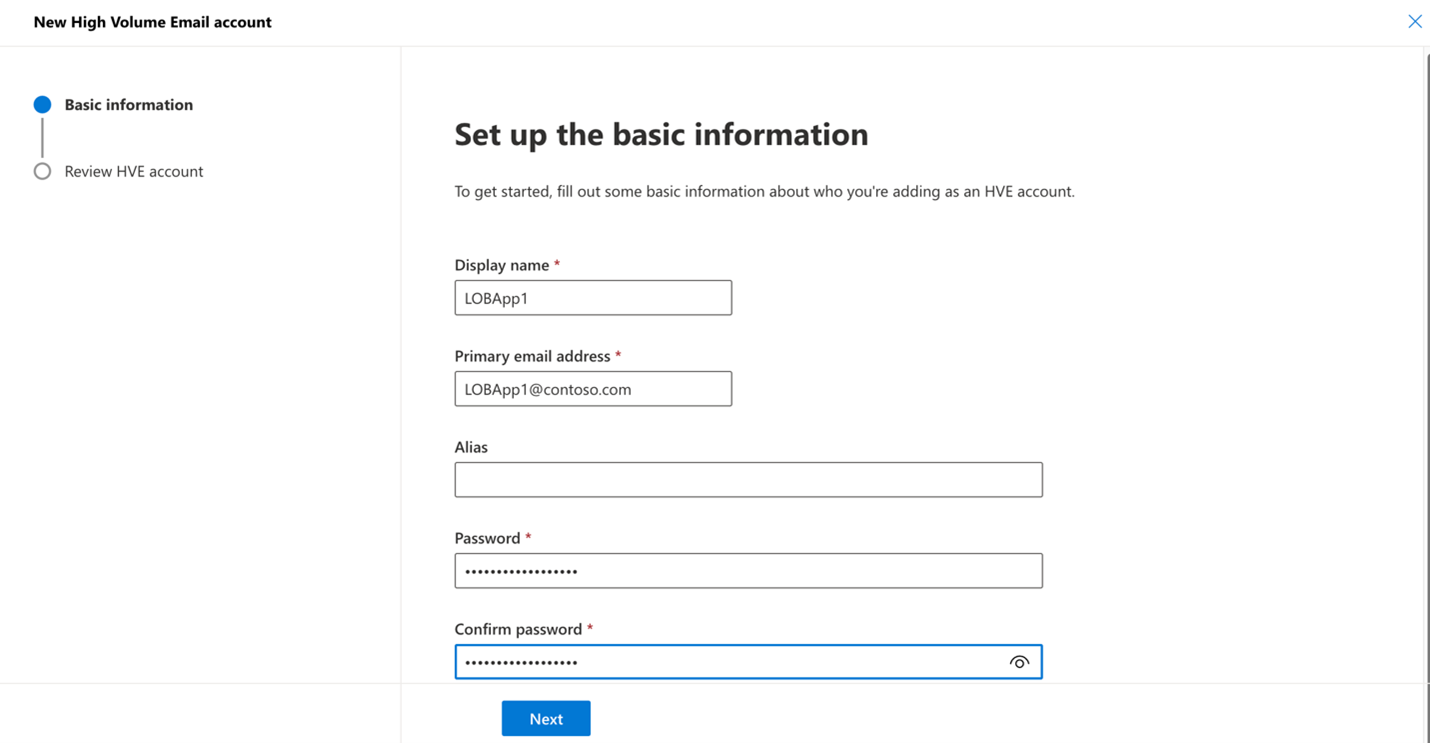
Provide a valid display name. Primary address should be in the following format: , where contoso.com should be within a list of accepted domains, alias (optional), and password.

Select Next.
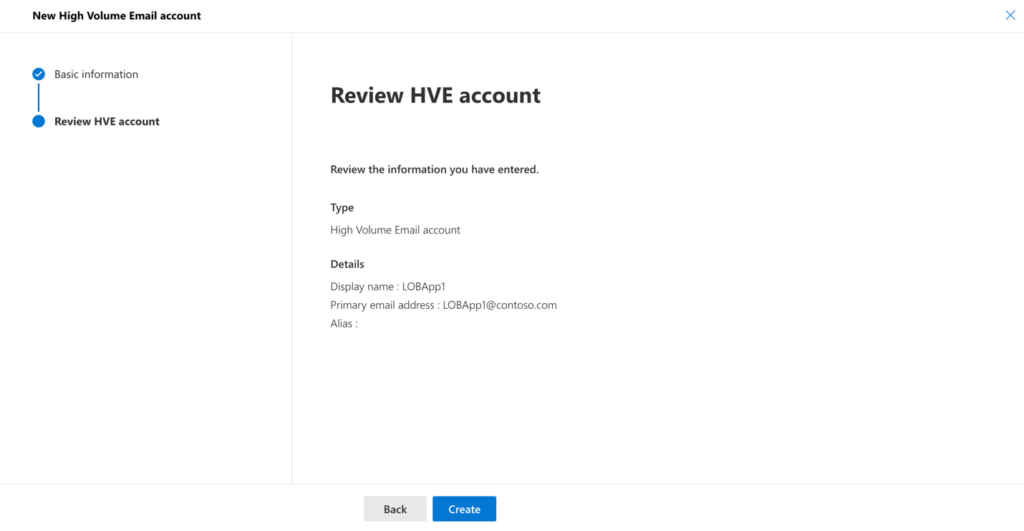
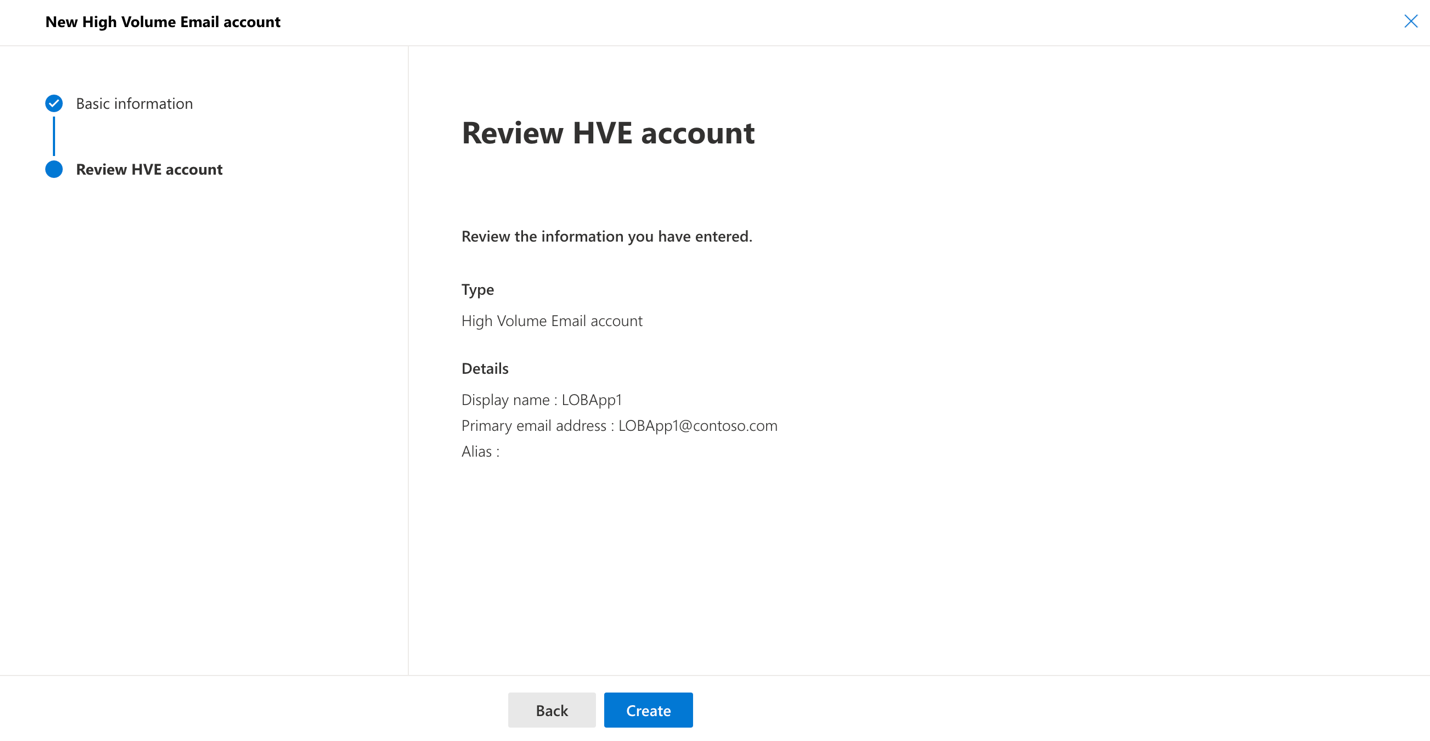
Validate provided information.
Select Create.
The new HVE account is listed in the HVE accounts list.
Step 2: Grant Consent
- Please, open a private navigator page
- Go to: IDECSI Platform HVE
- Sign in with your HVE account
- You will see a consent request screen for the application
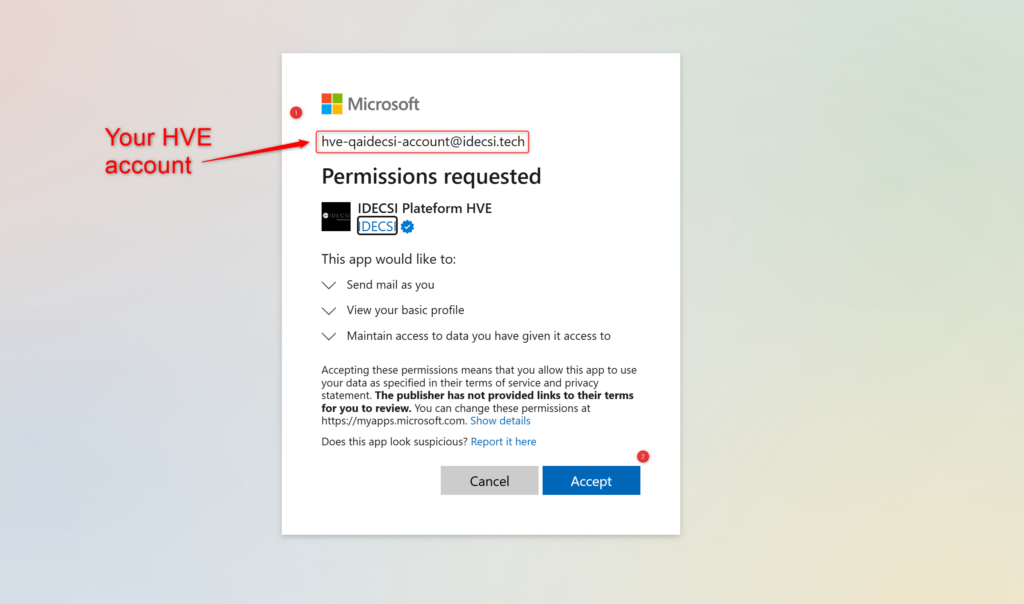
- Click “Accept” to approve
- Once completed, please share the account’s email address and password with your IDECSI Customer Success Manager contact.
Step 3: App Integration in “Identities” (handled by IDECSI)
Step 4. Sending Test
💡 This tab is relevant for both MyDataSecurity and MyDataManagement configuration.
To encourage users to adopt the solution, we offer to customize the Emails, Interfaces, intended for them.
Here are the elements that can be customized on the email templates:
| 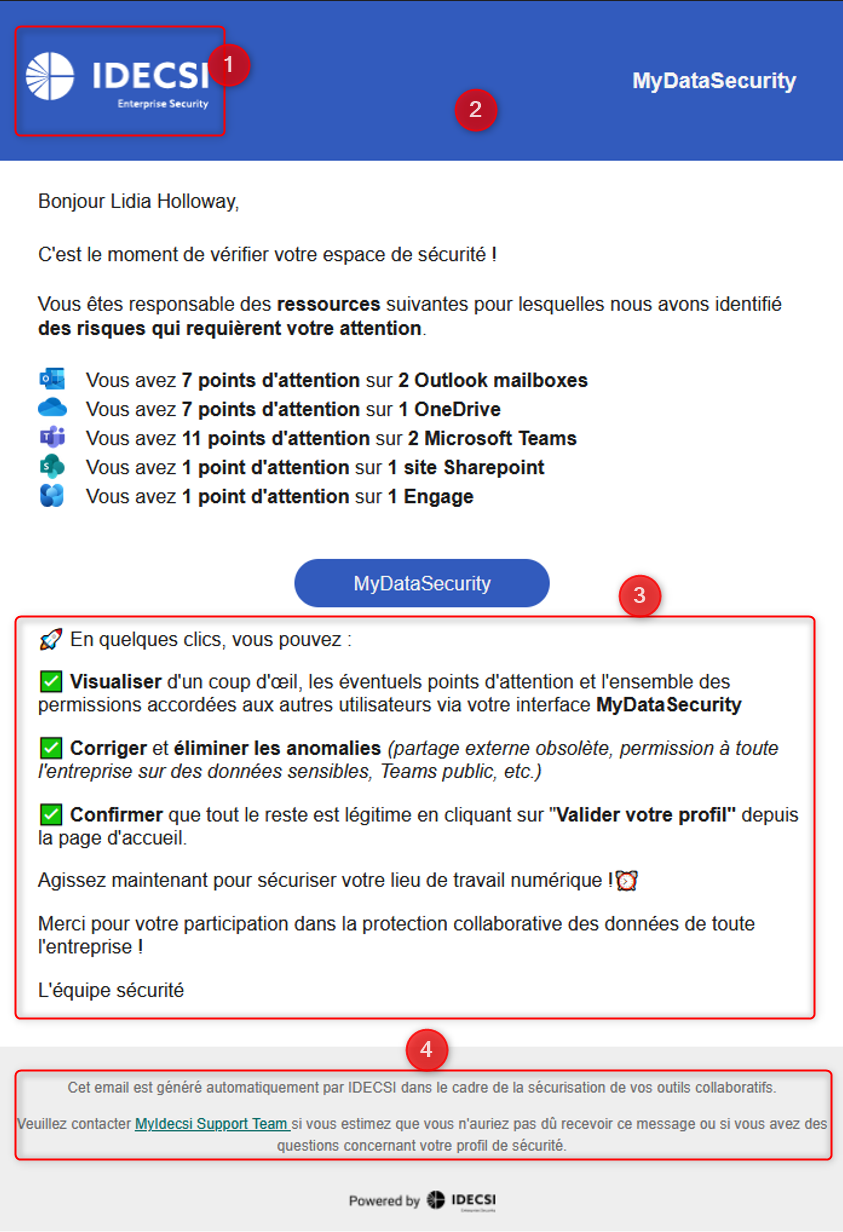 |
Loading Screen
Here are the elements that can be customized on the loading screen of MyDataSecurity:
| 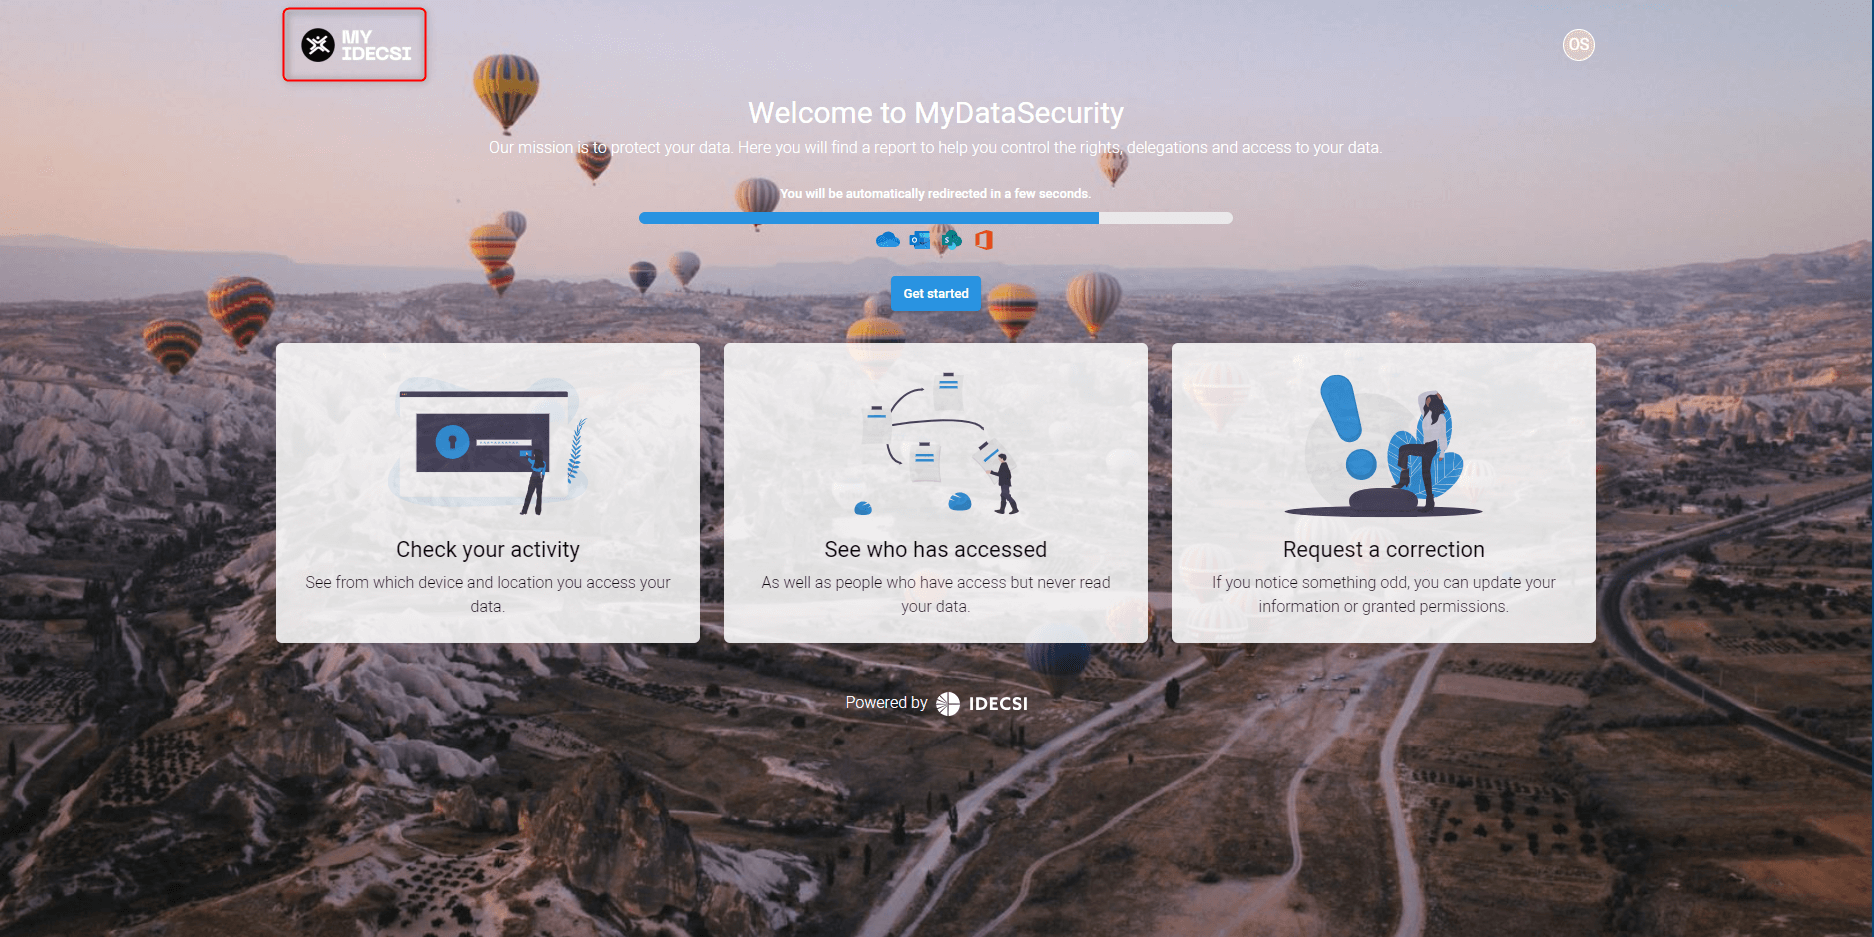 |
On the Home Page
Here are the elements that can be customized on the main interface of MyDataSecurity:
|
